Configure Title Page, Header and Footer
Click the Configure Title Page, Header and Footer button to show the Title Page, Header and Footer edit popup page.
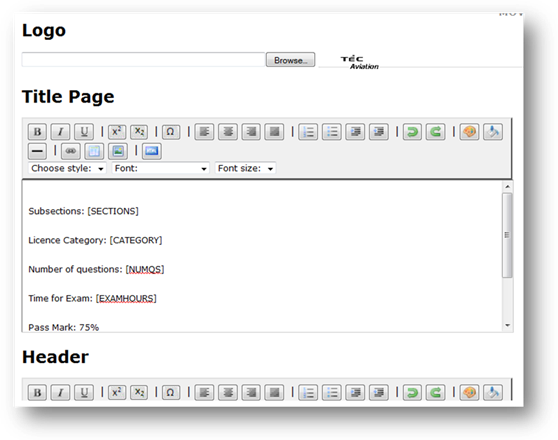
The Title Page is the text information to be included on the cover page of the exam. The Header and Footer is the text information, and logo, which will appear on every page after the Title Sheet. An example layout of Title Sheet, Header and Footer is displayed by default on installation of QBgenerator. You can change the default layouts if you want, and save the changes you have made.
Upload a logo image by clicking the Browse button. Select the logo image from your computer. An image size of 870 x 80 pixels or less is recommended. Image file types jpg, png, gif and bmp are allowed. A preview of the logo image will show after you have uploaded an image.
You can type any information into the Title Sheet, Header and Footer text boxes. You can edit and format the text using the toolbar.
The following terms can be used (with their square brackets) and the associated information will be displayed dynamically from the exam data you set during the exam generation process.
· [MODULENUM] - Module number of exam
· [MODULENAME] - Module name of exam
· [CATEGORY] - Licence Category of exam
· [SECTIONS] - Sub-sections included in exam
· [CATEGORY] - Licence category of exam
· [NUMQS] - Total number of questions in exam
· [EXAMHOURS] - Allowed time to complete the exam (in hours)
· [GENERATEDBY] - Administrator who generated the exam
· [EXAMREF] - The exam reference number (auto generated after saving the exam)
· [PAGENUM] - Exam page number
·
[NUMPAGES]
- Total number of pages in the exam
·
[DATE]
- Date exam was generated
· [EXAMDATE] - Date exam will be sat by the examinees
Once you have set the Title Page, Header and Footer exactly how you want it, it will remain the same for all future exam generations, and does not need to be edited again in the future, unless you need to make changes to the Title Page, Header and/or Footers.
Related Topics
Copyright (c) 2012 Total Training Support Ltd